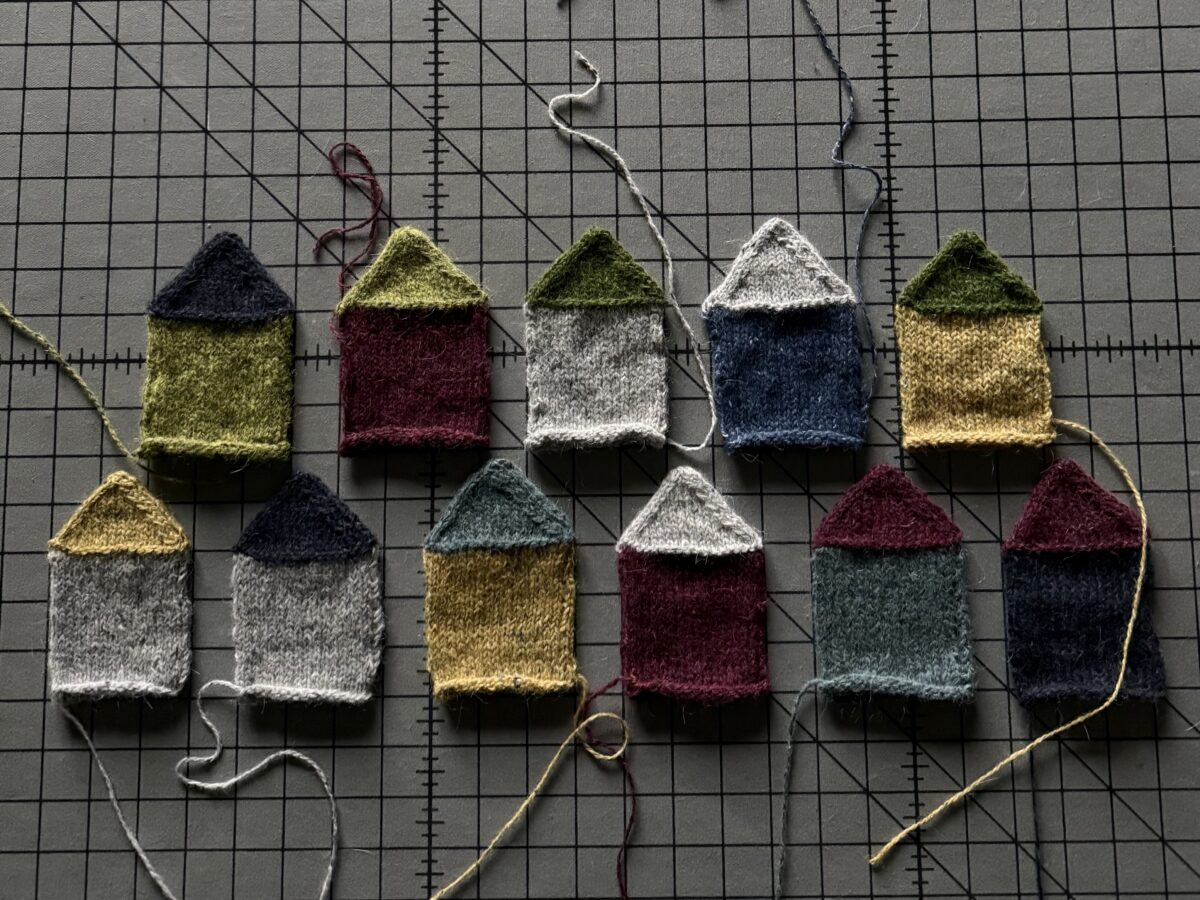
Tiny Houses: Knitting a Neighborhood
Based on this pattern from DROPS Designs . . . with my own tweaks and modifications (see below)
Inspired by similar tiny houses knit by Terhi Montonen.
Yarn: I used a variety scraps and leftovers of Rowan Felted Tweed from my stash. (These tiny houses take very little yarn to make.) Rowan Felted Tweed is a DK weight yarn.
Needles: US size 4 (I knit mine using the Magic Loop method, but double-points would also work.)
Started/finished: I knit 12 tiny houses in about 6 or 7 days between Christmas and New Year’s Day 2025.
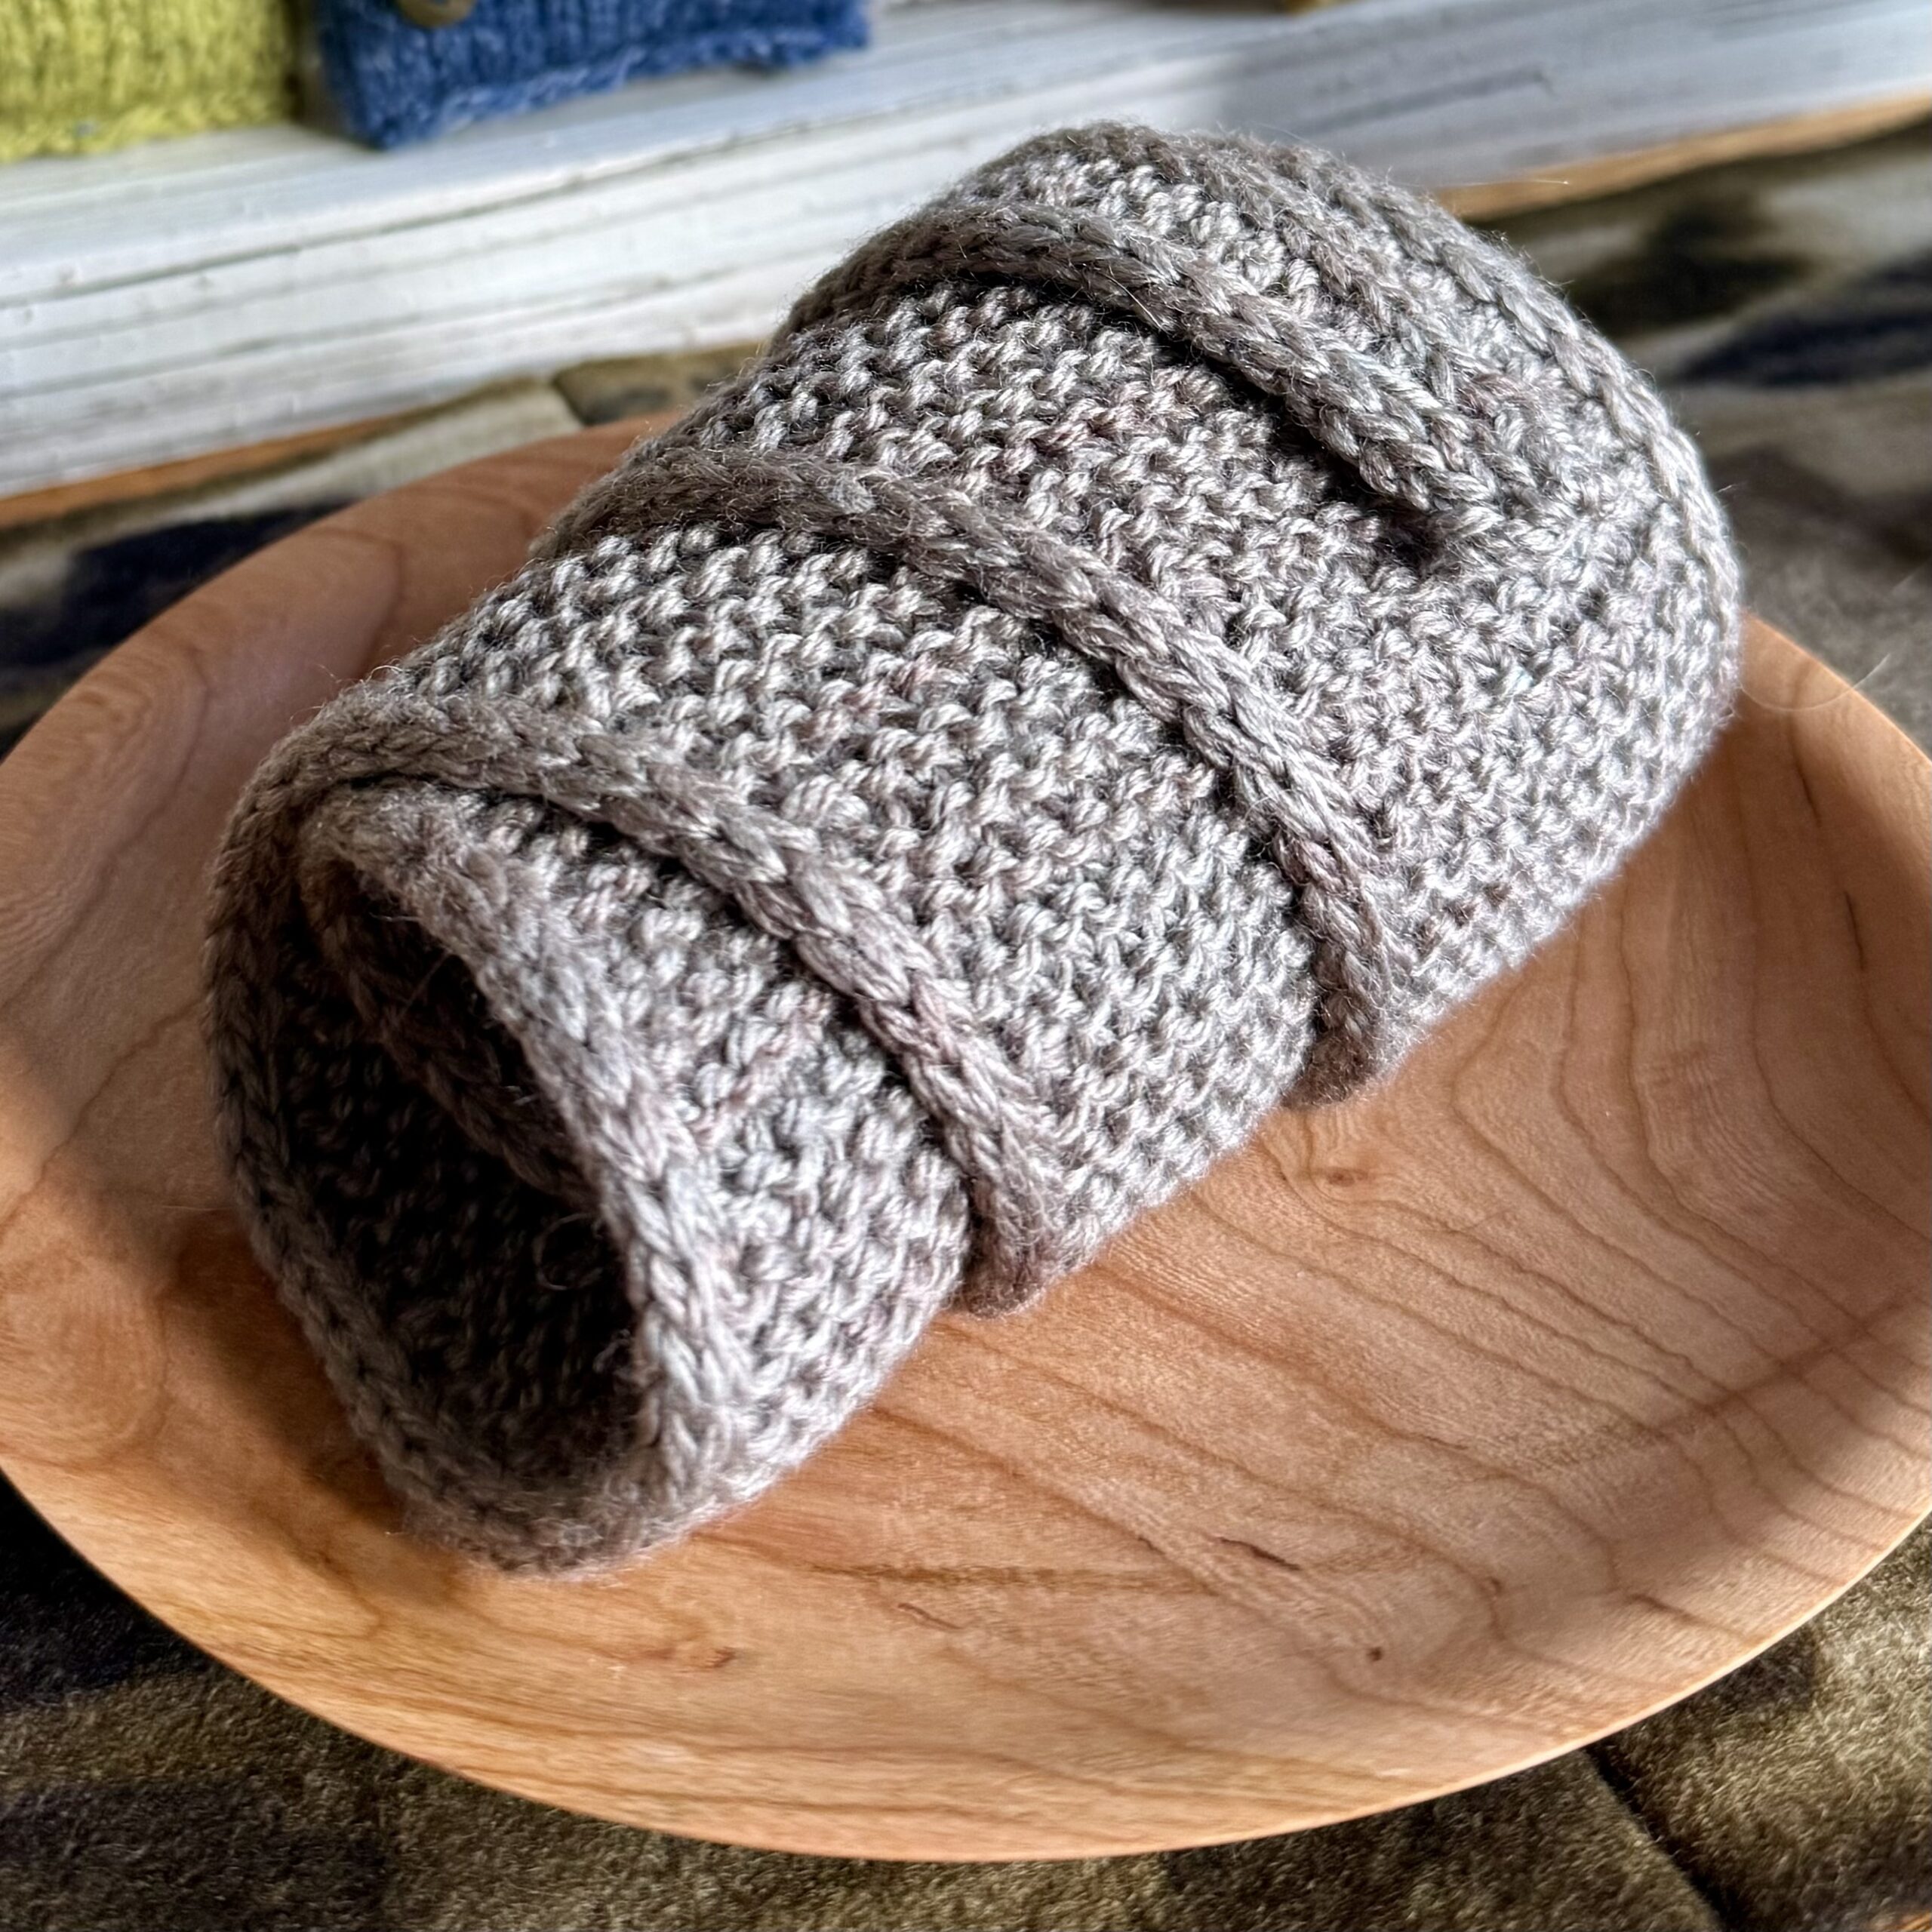
What will I do with them? Not exactly sure. I gave one to a friend with her Christmas gift. (It look pretty cute tied to a bottle . . . ). I may make a little bunting or garland with (some of) them. Give them away (they seem to make people happy, and we could all use a little happy these days). Display them in a little basket. My possibilities are endless . . .
Modifications/Tweaks: I basically followed the DROPS pattern, but I usually find the DROPS Designs a bit . . . lacking. Here’s how I knit mine (this is NOT a “pattern,” by the way; just some notes so I can remember what I did) (I am NOT a pattern-writer):
- I cast on 34 stitches with the main house color and joined to knit in the round. (I used a US size 4 needle and the Magic Loop method — 17 stitches on front needle; 17 stitches on back needle.) (I left a longish length for the cast on edge for later finishing.)
- I knit in the round for approximately 3 inches.
- I did an increase of 4 stitches on the last round as follows: on front needle [K1, Kfb, K to last 2 stitches of “front,” Kfb, K1]; repeat between [ ] for back needle. (Now there are 19 stitches for front and 19 stitches for back.)
- Change to roof color and purl one round.
- Knit two more rounds.
- Begin decreases as follows:
- Front needle: [K1, SSK next 2 stitches, K to last 3 stitches, K2tog, K1]; repeat between [ ] for back needle.
- Knit 2 rounds without decreasing.
- Do the decrease round again.
- Knit 2 rounds without decreasing.
- Repeat this decrease round/K 2 rows until you have 11 stitches each on front and back needles.
- THEN . . . Do the decrease round followed by 1 knit round until you have 5 stitches on each needle.
- Bind off like this: K1, slip next stitch knitwise, K1 and then slip the slipped st over the K1, K1. Do this again on back needle. Now you have 3 stitches on front back. Cut your roof yarn. Run the yarn through the 6 live stitches to bind off.
- I didn’t get too fussy about weaving in my yarn ends, which I just left tucked inside for a bit of “stuffing.”
- I did wet block them in bulk before finishing.
- I stuffed them with just a tiny bit of polyfil for some “plumping” (although they are equally charming just flat), seamed them up (roughly, rustically, and haphazardly leaving the rolled cast-on edge showing).
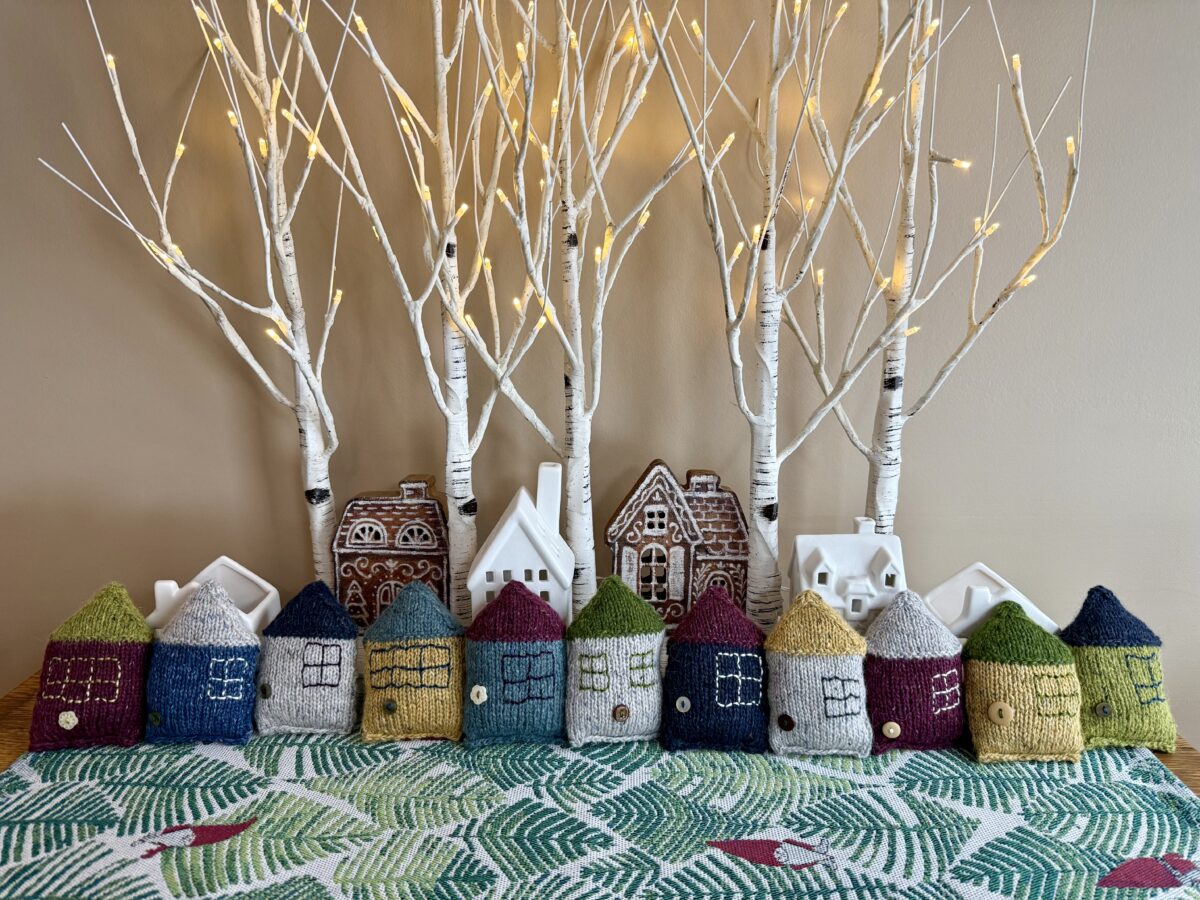
- Embroidery windows and/or doors are optional, of course, but charming. I decided to just add small buttons as “illusion doorknobs” (which was the agreed-upon option when I went “opinion shopping” with 3 family members whose taste I trust).
My finished houses are about 4 1/2 inches tall and just over 3 inches wide. There are slight variations in finished size, though, because I didn’t get caught up in the number of rounds or even bother to measure. I just kind of eye-balled everything and just went for it.
Photo gallery.